The SONOFF Zigbee Bridge is a relatively new device from Sonoff that can be used with Sonoff Zigbee Sensors. However the full potential of this device is unlocked when you flash it with Tasmota firmware and add it to your Home Assistant setup via the ZHA Integration. This allows you to use the Sonoff Zigbee Bridge with just about any zigbee device from any manufacturer. Full compatibility here.
In my house, I have numerous Philips Hue Lights and dimmer switches controlled via the Philips Hue Bridge, as well as numerous Xiaomi Aqara devices (temperature sensors, door sensors, wireless switches, etc) controlled via the Aqara Gateway.
I’ve always wanted to be able to get rid of both the Philips Bridge and Aqara Gateway and use just one zigbee co-ordinator. While there were a few different devices already on the market to do this, I finally decided to make the move when the Sonoff released their Zigbee Bridge as I have been using Sonoff devices for a while with Tasmota firmware.
Flashing the Sonoff Zigbee Bridge with Tasmota so it can be used with Home Assistant directly via ZHA, will require you to open the device to access the PCB (printed circuit board). However no soldering is required so it is a relatively simple process. I will walk through the steps here.
Items Needed
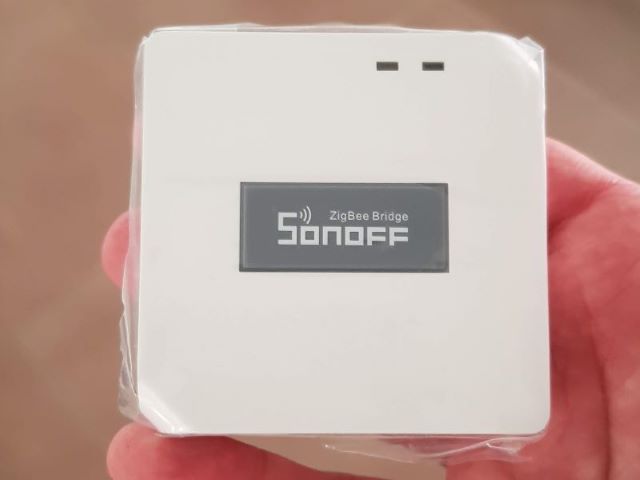
First of all we need the Sonoff Zigbee Bridge itself.
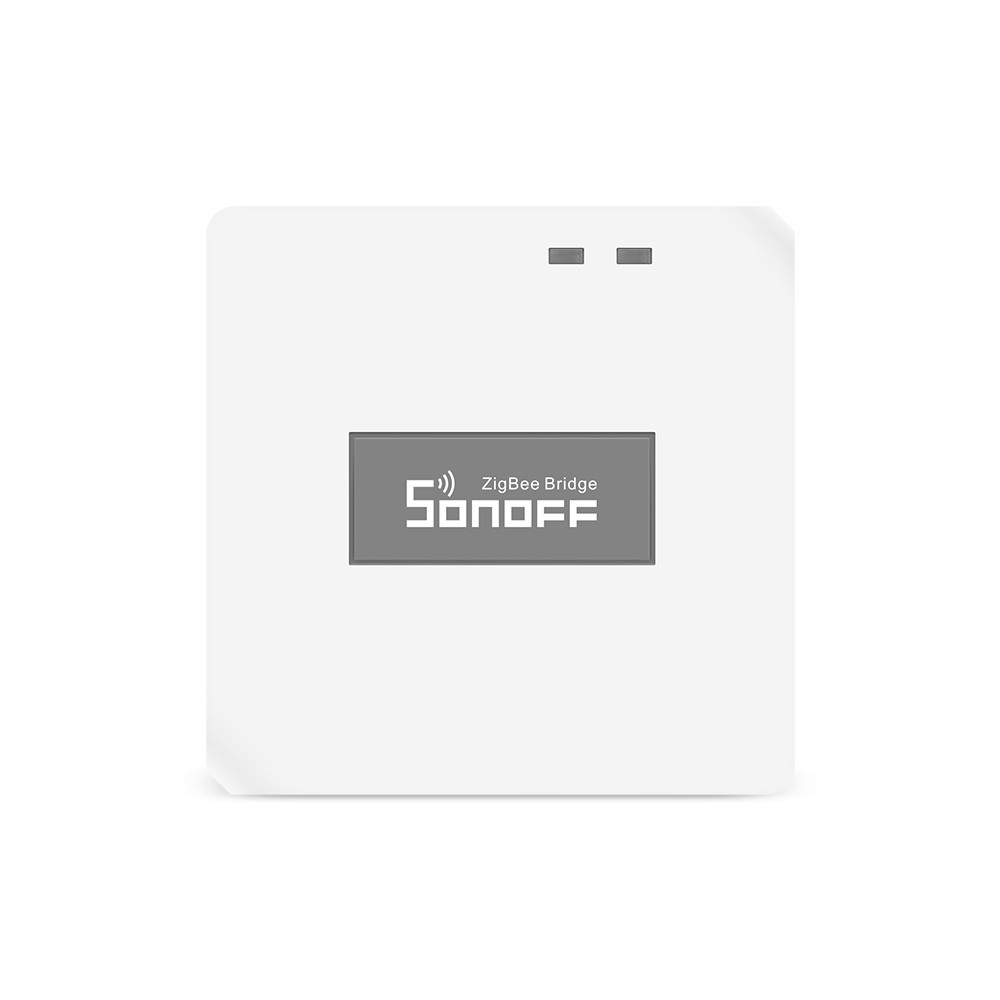
Purchase from: [BangGood] [AliExpress] [Amazon]
To flash the Zigbee Bridge, we need a USB to TTL serial adapter.
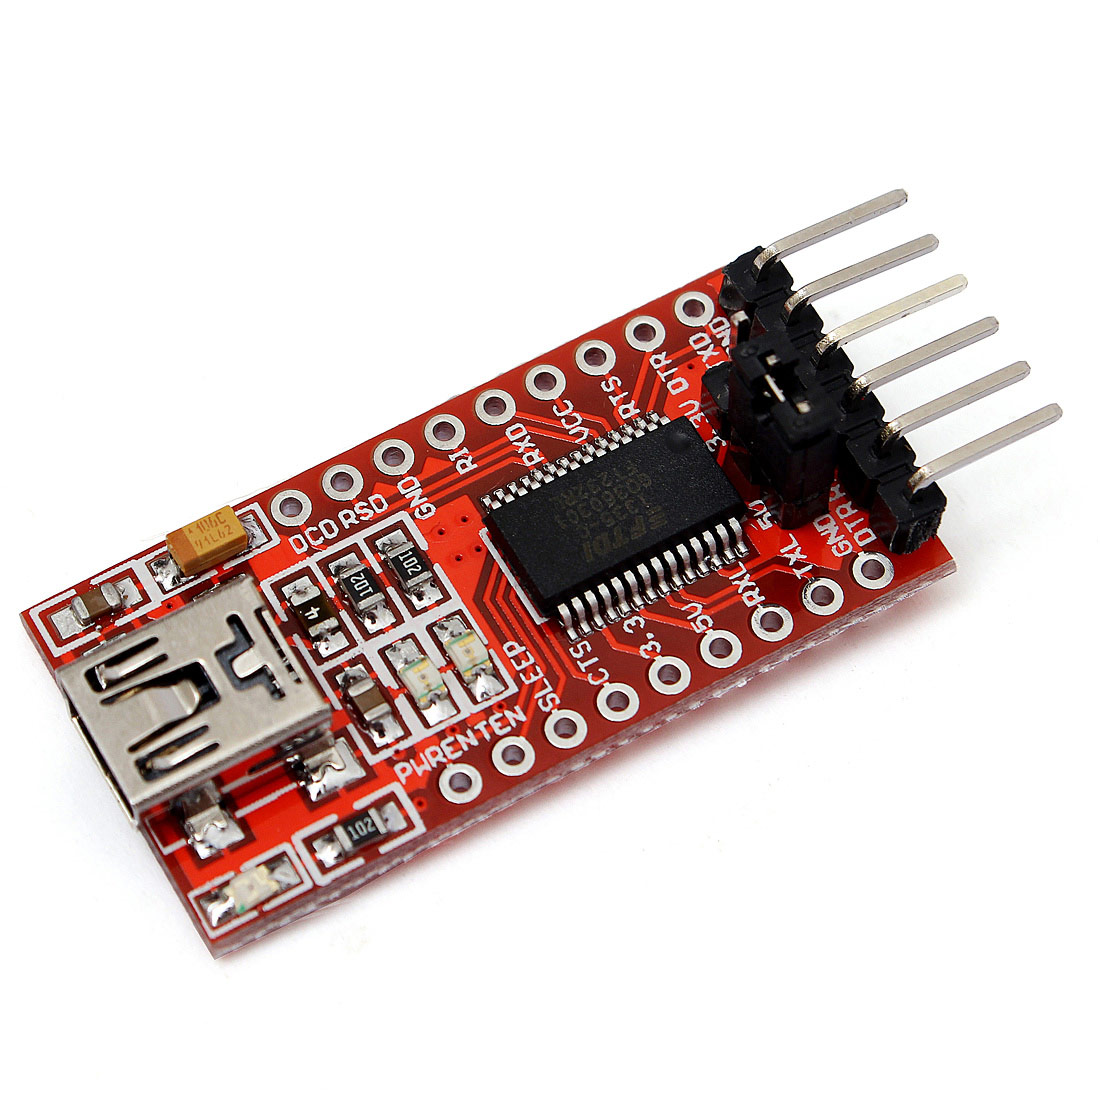
Purchase from: [BangGood] [AliExpress] [Amazon]
Also some jumper cables.
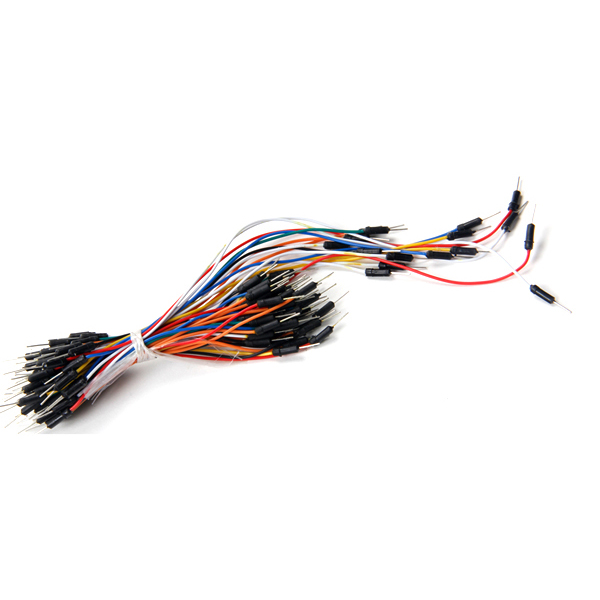
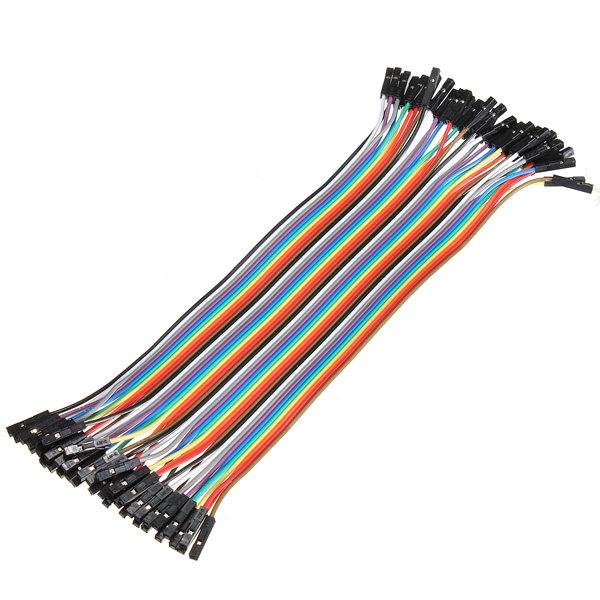
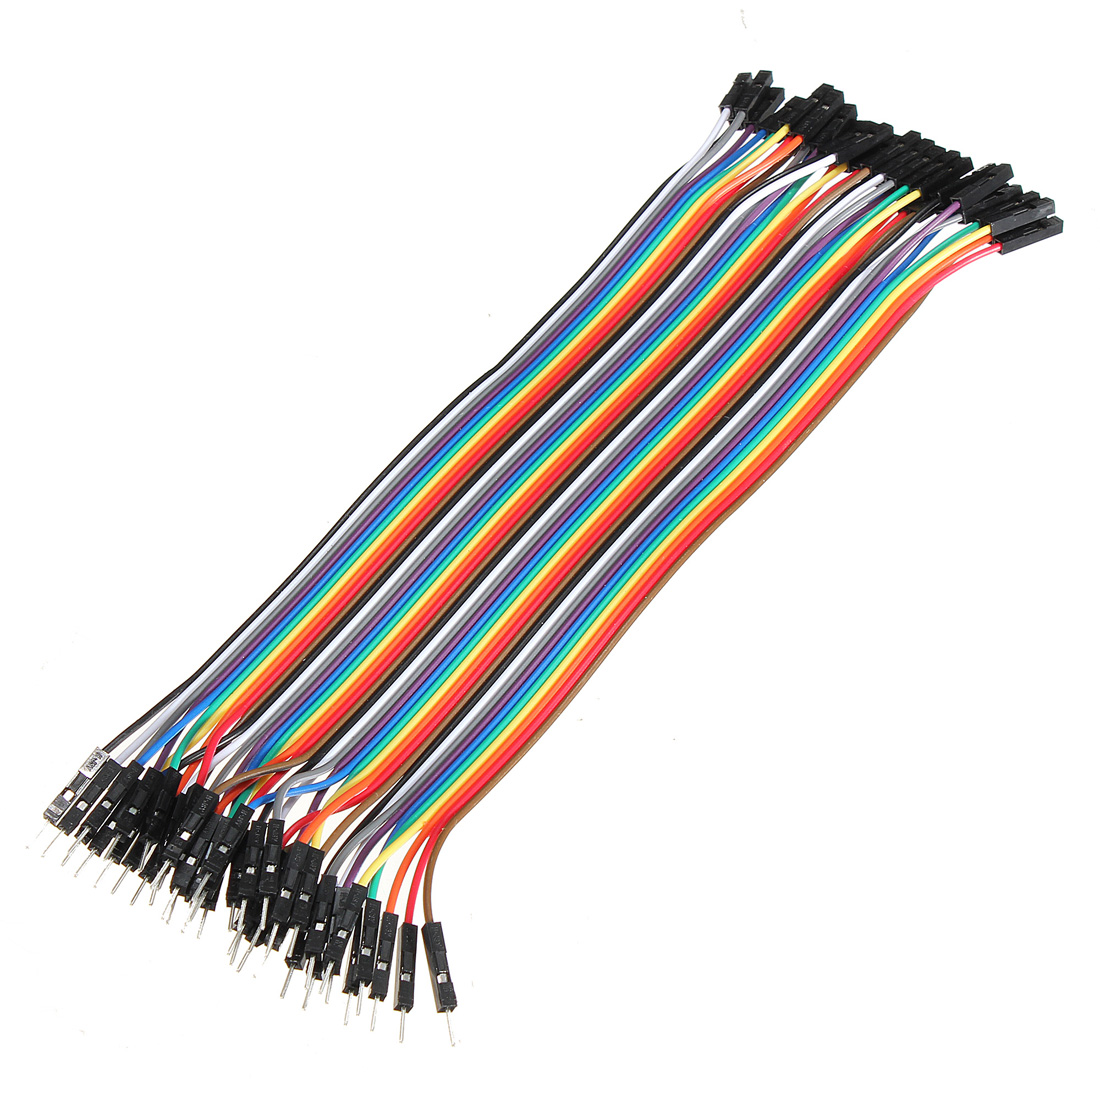
If you don’t want to solder, get male to male breadboard wires as these will fit into the vias (holes) on the PCB of the Zigbee Bridge. But you will also need female to female jumper wires to connect to the USB adapter.
If you’re comfortable soldering, just get these if you don’t have any lying around.
Download the following:
- Flashing tool: Tasmotizer
- Tasmota Firmware: tasmota-zbbridge.bin (only needed if not flashing with Tasmotizer)
- ZigBee Module Firmware: Get the latest recommended version from here. As of May 2021 that would be
ncp-uart-sw-6.7.8_115200.ota.
Also you will need all the devices you plan to pair to the Zigbee Bridge. Here are some that I use.
Flashing the Sonoff Zigbee Bridge
Remove the 4 rubber feet and unscrew the case to access the PCB.
If your USB serial adapter supports 5V and 3V3, make sure the jumper or switch is set to 3V3!!!
Connect your wires from the Zigbee Bridge to the USB adapter as follows:
| ZbBridge | USB Adapter |
|---|---|
| 3v3 | 3V3/VCC |
| GND | GND |
| ETX | RX |
| ERX | TX |
| IO0 | GND |
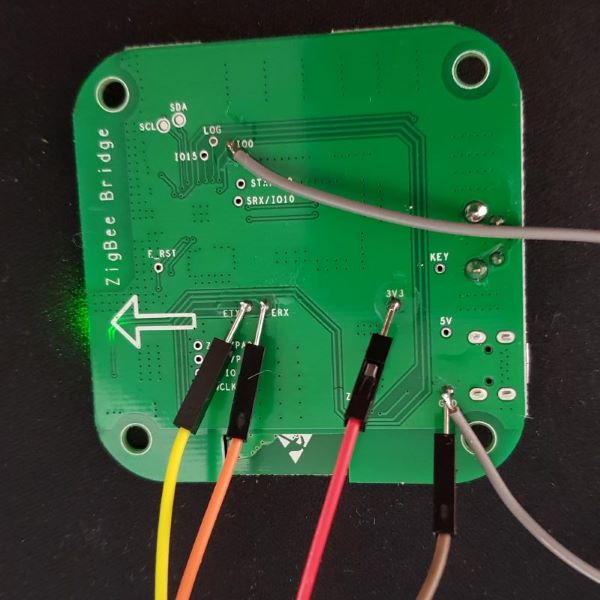
If your USB adapter only has 1 ground connection, you can short IO0 and GND on the Zigbee Bridge.
Plug in the other end of the USB adapter to your computer and open up tasmotizer. Select the com port of your usb serial adapter, and the rest of the settings as shown below.

Click on Tazmotize and once its done flashing, disconnect the Zigbee Bridge (you can assemble it back in its case) and power it up.
On a PC or smartphone, check available WiFi Access Points and connect to the Tasmota one.

Go to http://192.168.4.1 in a browser. It should bring up a page like this:
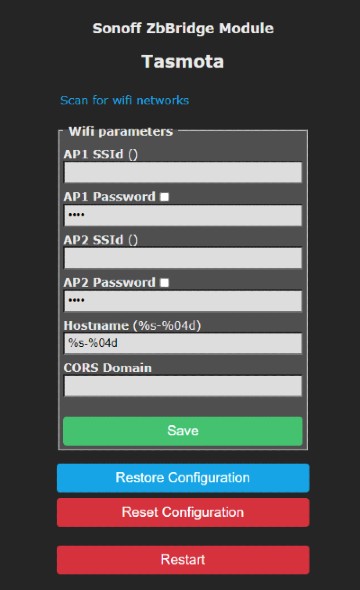
Fill out AP1 SSID and AP1 Password with your WiFi settings and then click save. The device will reboot.
Use an app like Fing to find out the IP address of your Zigbee Bridge. Use this IP address in a web browser, which should take you to the device’s tasmota main menu:

Now we need to flash the Zigbee module firmware. Click on firmware upgrade and then click on choose file. Select the file ncp-uart-sw_6.7.6_115200.ota that you downloaded, and the click on start upgrade.
Give it a few minutes to flash, and when it’s done it will reboot.
From the main menu, click on console and input the following to configure it to work with Home Assistant:
backlog rule1 on system#boot do TCPStart 8888 endon; rule1 1; template {"NAME":"SONOFF ZbBridge","GPIO":[56,208,0,209,59,58,0,0,0,0,0,0,17],"FLAG":0,"BASE":18}; module 0; devicename SONOFF ZbBridge; friendlyname SONOFF ZbBridge; topic ZbBridge
If you want the led light on the Zigbee Bridge to remain on when the device has power, enter this into the console:
ledpower 1
Configuring Home Assistant
In Home Assistant, go to configuration > integrations and click the + button. Select Zigbee Home Automation.

Select Enter Manually for serial device path:

Select the EZSP option as the radio type:

For device path input socket://<IP_ADDRESS>:8888 (replace IP_ADDRESS with the IP address of your ZigBee Bridge). Port speed is 115200.

Click finish.

You should now see a Zigbee Home Automation card in Integrations.
Adding devices to the Zigbee Bridge
With our Zigbee Bridge setup via ZHA, we can start adding our varios zigbee sensors, lights, etc.
Click on configure on the Zigbee Home Automation card in Integrations.

Click the plus button.

Click on show logs and then put your device into pairing mode. If you’re unsure how to put your device into pairing mode, refer here.

A card for the device will come up once its successfully paired with the device.

If you are finding it is not pairing, keep trying as they will eventually pair. I found that my philips hue lights connected almost straight away, but my aqara sensors took several attempts to connect. There are some good tips here for pairing aqara devices.


Comments